

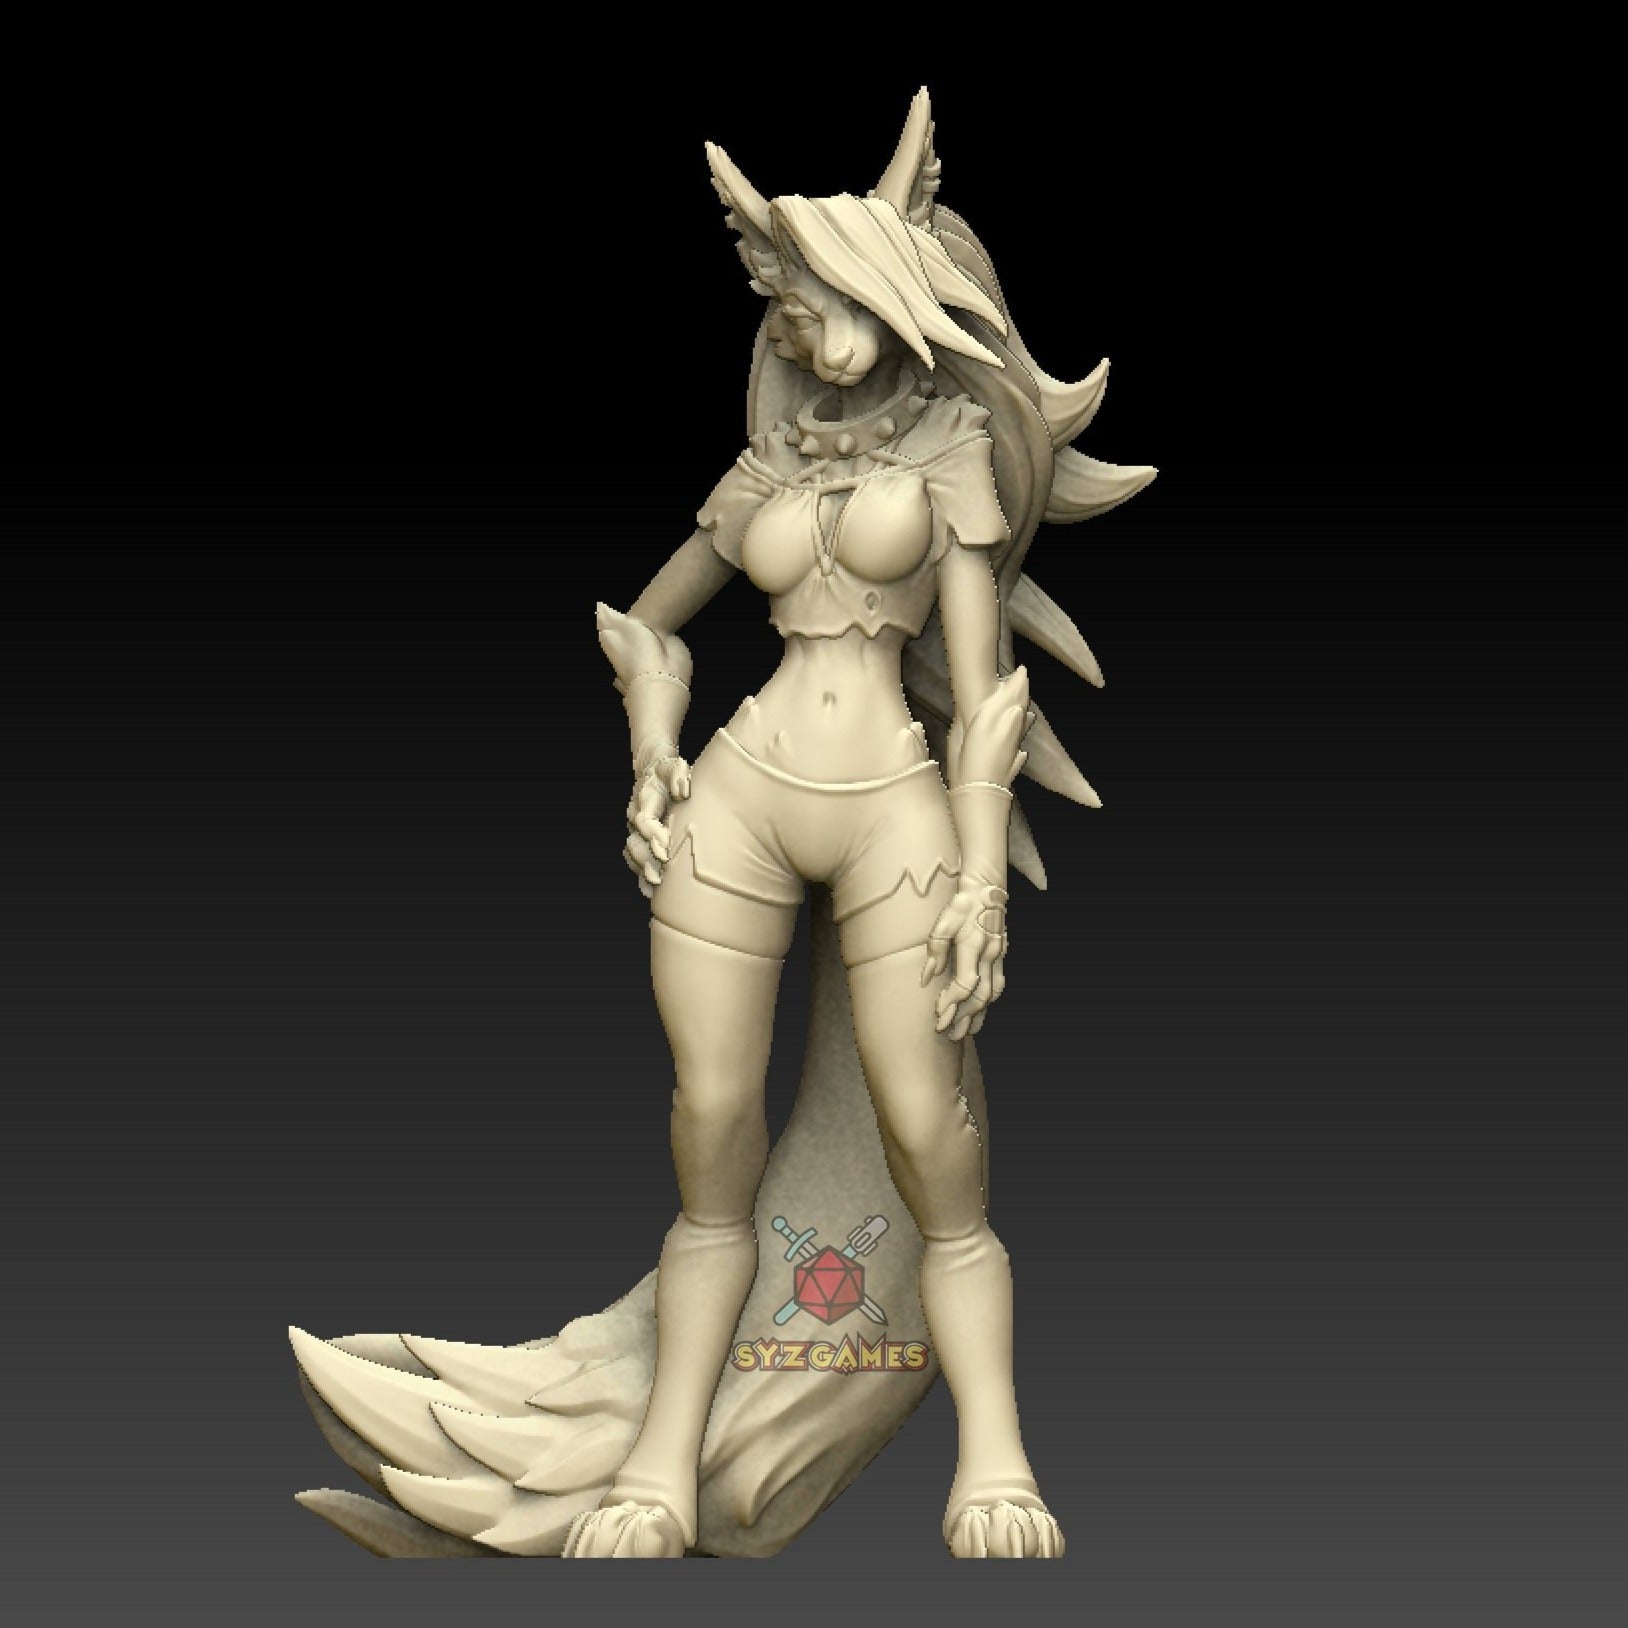
Mastering the Art of Painting Gaming Miniatures: A Step-by-Step Guide

Introduction: Painting gaming miniatures is a captivating hobby that combines creativity, patience, and attention to detail. Whether you're a seasoned painter or just starting out, this step-by-step guide will help you enhance your skills and create stunning works of art for your gaming adventures. So, grab your brushes and let's dive into the world of miniature painting!
Step 1: Prepare Your Workspace and Tools Before you begin, ensure you have a well-lit and clutter-free workspace. Gather your painting supplies, including brushes of various sizes, a palette, water containers, primer, paints, and a clean, smooth surface for the miniatures, such as a painting station or a cork base.
Step 2: Clean and Prime the Miniature Cleaning the miniature is crucial to remove any mold release agents or oils. Use warm water and a mild soap to gently scrub the miniature with a soft brush. Rinse it thoroughly and let it air dry. Once dry, apply a primer to the miniature using a spray or brush-on primer. This will provide a smooth surface for the paint to adhere to and improve the overall result.
Step 3: Plan Your Color Scheme Consider the theme and atmosphere you want to convey through your miniature. Research and brainstorm color schemes that will complement the character or creature. It's helpful to create a color palette or reference images to guide your painting process.
Step 4: Basecoat the Miniature Start by applying a basecoat of paint to the entire miniature using a medium-sized brush. Thin your paints with water or a suitable medium for smooth application. Apply multiple thin layers rather than a single thick coat to preserve the details of the miniature. Use lighter colors for brighter areas and darker shades for shadows.
Step 5: Add Depth and Details Once the basecoat is dry, it's time to add depth and details to your miniature. Use a smaller brush and apply highlights by adding lighter shades of the base colors to the raised areas. This technique, called dry brushing, will bring out the intricate details and create depth. Gradually build up the highlights by adding layers until you achieve the desired effect.
Step 6: Fine Details and Washes Focus on the finer details such as the face, eyes, and small accessories. Use a fine brush and steady hand to paint these intricate areas. Thin down darker paint colors with water and apply them as washes over recessed areas to create shadows and enhance the three-dimensional appearance of the miniature.
Step 7: Finishing Touches Apply a final varnish or protective coat over the miniature to seal the paintwork and protect it from damage. You can choose between matte, satin, or glossy finishes depending on your preference. This step also helps unify the colors and provides a professional finish.
Step 8: Basing and Display Consider the base of your miniature as an opportunity to enhance its overall presentation. Add texture to the base using sand, rocks, or flocking materials to create a realistic environment. Paint and drybrush the base to match the theme of your miniature. Once completed, your miniature is ready to be proudly displayed or used in gaming sessions.
Conclusion: Painting gaming miniatures is a rewarding and creative endeavor that allows you to bring your favorite characters and creatures to life. By following these step-by-step instructions and practicing your painting techniques, you'll be able to create stunning works of art that add an extra layer of immersion to your gaming experiences. So, embrace your inner artist, experiment with colors, and let your imagination soar as you embark on this miniature painting journey!